

Holiday Cheese Board
Holiday Cheese Board

Author:
Laura Nelling @cheeseboardandchill
Laura of Cheeseboard and Chill loves entertaining friends and family while sharing a delicious and beautiful cheeseboard together, especially around the holidays. She uses little touches to elevate her board like garnishing with sprigs of rosemary or other fresh herbs, and made this holiday board extra special by using mini cookie cutters to make fun shapes with the cheese. Building and eating the board together is an activity the whole family can enjoy!
Ingredients
- 1-2 Wedges of Comté (portion 4-5 ounces/cheese per guest), sliced
- 2 Types of charcuterie meats (portion 4-5 ounces/meat per guest), such as salami or prosciutto
- 2-3 Seasonal fruits, featured are persimmons, pears, and pomegranates
- 1 Sweet accoutrement such as jam or honey, featured here is a classic fig jam
- 1 Salty item such as olives or cornichons
- 1-2 Crunchy treats, I used hazelnuts and chocolate covered toffee bites
- 2 types of crackers, 1 plain such as the wafer style crisps, and 1 flavored such as the featured rosemary crackers
- Fresh herbs for garnish, rosemary and basil or thyme are my favorites
Instructions
- Start by placing the larger items on the board. Rind washed or waxed cheeses look great left whole on the boards, while other harder wedges are great if they are pre-sliced. For this board I sliced the 15-month Comté in regular rectangular slices and also in smaller triangular wedges to give the board more texture. Save a few slices of the cheese to make holiday shapes with which will elevate your board! Place down your ramekins or jars of jam/honey and "fan" the slices out around them as was done with the fig jam and Comté slices.
- Next layer in any of the larger fruits such as the whole pomegranate wedges, persimmons, or pears. Slice 1-2 fruits and leave some whole as an edible decor your guests can slice into!
- Fold the charcuterie meats into fourths then stack together to create "flowers" tuck these into pockets of your board so they have something to hold them together. You can also use a toothpick to make sure they stay in place.
- Fill in the gaps of your board with crackers, nuts, or any smaller items such as the chocolates.
- Next place your fresh herb garnish around ramekins or in between the items on your board.
- Bring this one together by using mini cookie cutters to make holiday shapes to top your board. This fun and edible "garnish" will make your cheeseboard holiday ready!
Notes
As a way to get the whole family involved, I love having everyone pick out their favorite jam, fruit, or other fun items to include on the board!


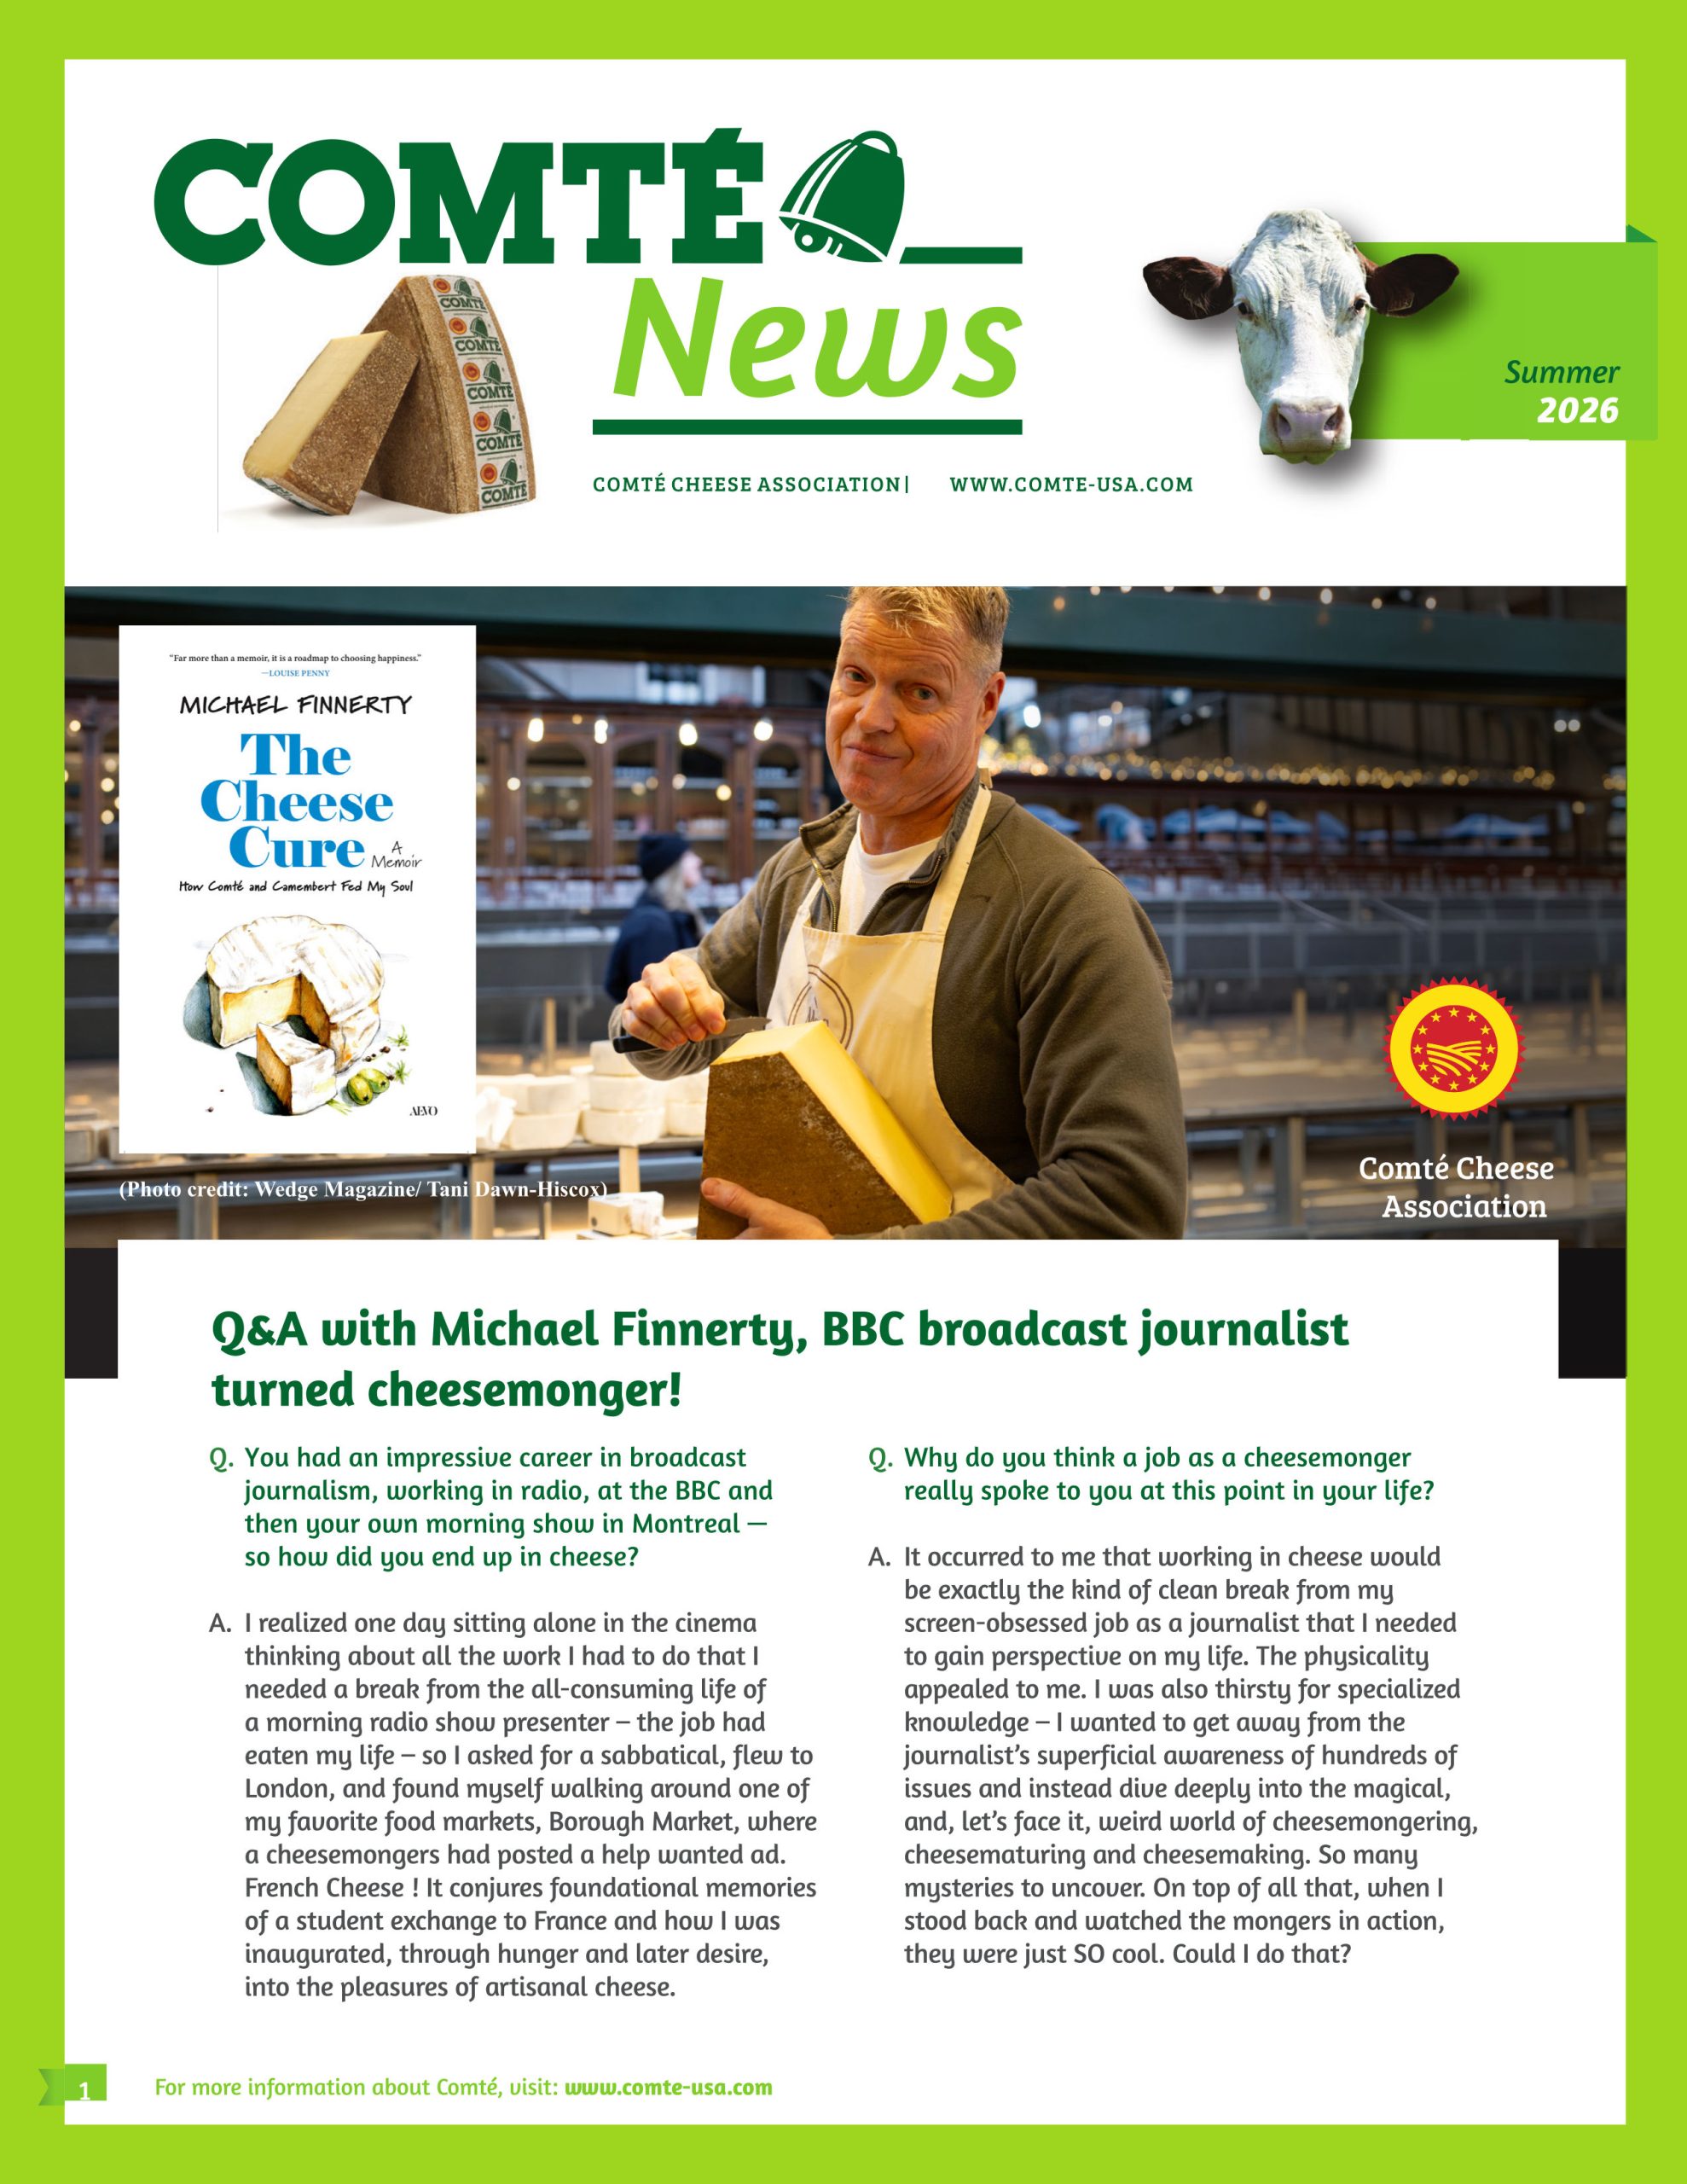
The Summer 2026 edition of Comté News is now available!


Leave a Reply