How To Build A Summer Cheese Board
How To Build A Summer Cheese Board

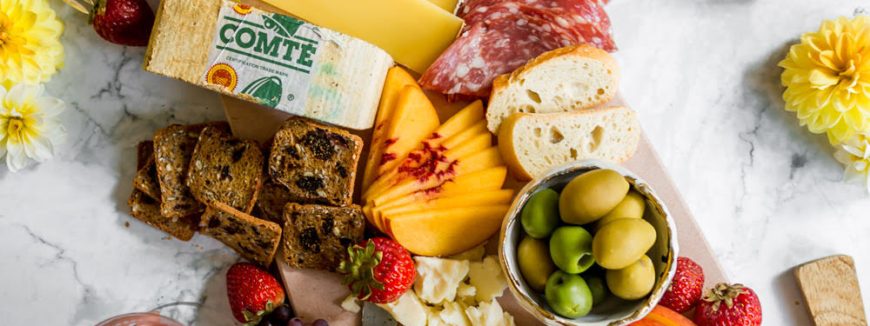
Putting a summer cheese board together is easy, fun, and makes a fresh and flavorful snack for a crowd. If you’ve never put a charcuterie plate together, I have all the tips and tricks you’ll need to make your very own. Step by step, we’ll move through the basics of a summer cheese board, how to match flavors, and how to turn it into a work of art. I’ve kept this board simple, but feel free to fill yours with as much cheese, meat, and fruit that you want. Charcuterie (pronounced “shahr-ku-tuh-ree”) is all about beautiful presentation and refined flavors. It’s a French word for cured meats, such as bacon, salami, and prosciutto. Nowadays, the word is associated with assembling meat products together with other accompaniments, such as dried fruits, nuts, and cheeses.
Ingredients
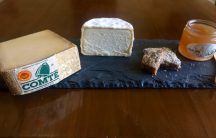
- 1 Comté cheese, sliced
- 1 soft cheese
- 1 cheddar cheese, crumbled
- 2-3 cured meats, such as prosciutto, salami, soppressata
- grapes
- stone fruits, slices
- strawberries
- crackers
- banquette slices, toasted
- olives
- cornichons
- jam
- honey
Instructions
- Assemble all ingredients on a wood board, platter or tray.
- Add crackers and bread last, so they don’t get soggy if making in advance.
- Make sure to take your cheeses out of the fridge at least 30 minutes to 1 hour before serving.
Notes
Include both hard and soft cheeses. A Comté cheese and sharp cheddar would be enjoyable on their own. One or two soft cheeses, like brie or Burrata, would be delicious spread on crackers and bread.
Use a variety of fresh and dried fruits for balance. Choose fresh fruits based on the season, such as stone fruit, berries, figs, apples, pears, persimmons, and kiwis. Dried apricots, lemons, oranges, and freeze-dried strawberries would add sweet flavors and beautiful colors.
Add texture and break up the cheese board by filling your small bowls with all sorts of sweet and salty treats! Fill them with nuts (almonds, hazelnuts, cashews, and pistachios), crackers and bread (pretzel sticks, crackers, pita chips, sliced baguette), olives (kalamata, green, or black), and cornichons. If you still have space to fill, add slices of cucumber or an avocado rose for an elegant presentation.
Pull together the presentation by using beautiful serveware. This is what you’ll need:
· Wooden board or ceramic platter: For aesthetic purposes, I love to plate the snacks on wood or marble board, trays, or large platters. You could also use slate and label all of your ingredients in chalk!
· Small bowls or ramekins: To hold the small, loose ingredients, such as olives and nuts.
· Cheese knives: Have multiple sets of knives if your board has more than 1 type of cheese.
(Serve a knife for each cheese so the flavors don't mingle. Include small knives or toothpicks and small spoons for things like jam, olives, and cornichons.)
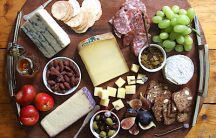
Presentation is everything when it comes to charcuterie. Follow these simple steps when layering on all of your ingredients and flavors:
1. Start by placing your cheese in a triangle shape on the board (A.K.A.: place a cheese in each corner).
2. Next, fill your small bowls with the extras and dips, like olives, cornichons, jam, or hummus.
3. Add to the presentation by wrapping and folding your cured meats. I like to wrap prosciutto into little rosettes and fold the slices of salami next to each other.
4. To finish, fill the empty spaces on your board with the fresh and dried fruits, crackers, nuts, and bread. You could add edible flowers or fresh herbs as an additional garnish if you’d like.





Leave a Reply